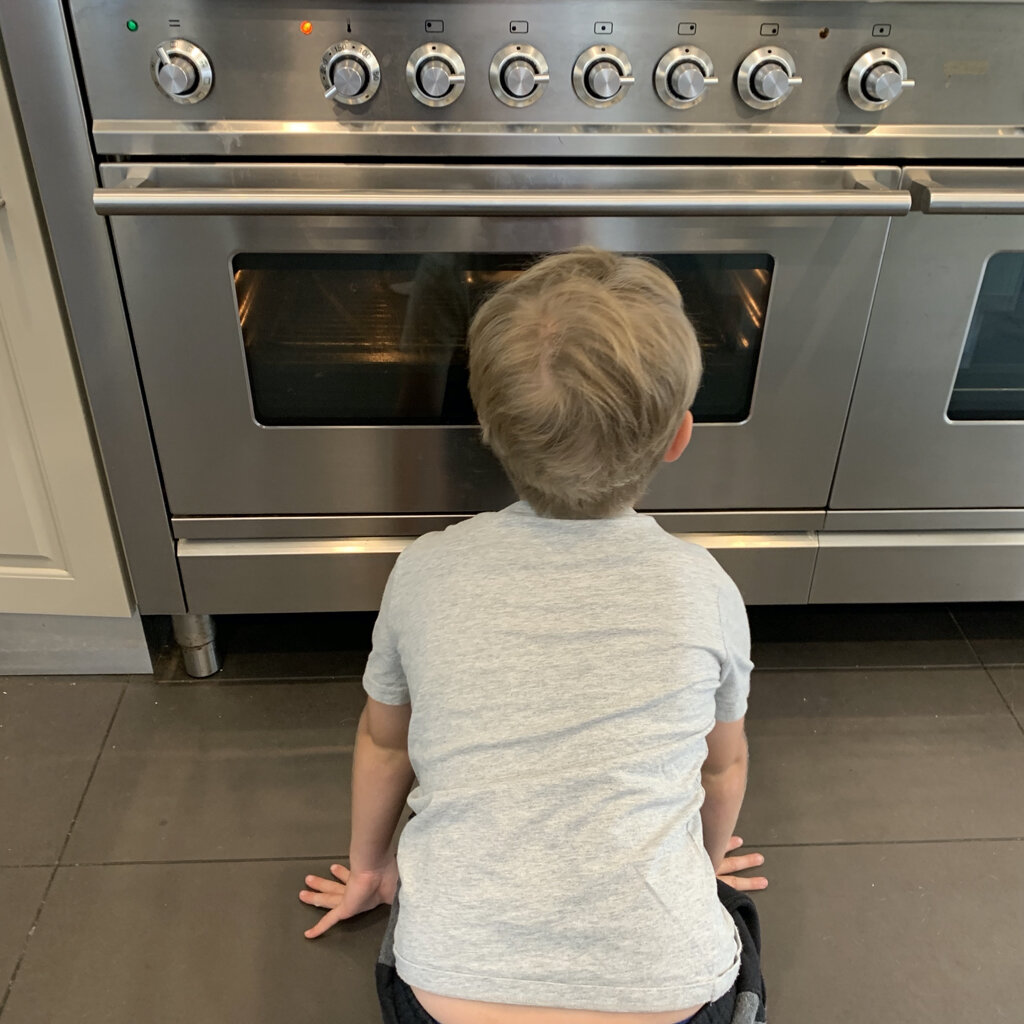
A watched oven never cooks. Great time-killer! 😂
We used the iPad for inspiration, and mummy may have helped just a little bit 🤏
Look how proud Rufus and Jack are of their characters!!
Rufus took this activity a step further and made a house for his character! 😍
Just say the words ‘bake’ in my house and the kids are instantly engaged. So we were excited when today’s lucky dip holiday activity was to ‘cook our own characters’ to use as inspiration for creating some stories. We happened to have some Fimo in the house (remember how much you loved using this when you were a kid?). If you don’t have any Fimo then you can make your own bakable clay (see recipe at the bottom of the page) or, even make edible characters out of puff pastry or cookie dough.
Get inspiration: The kids thought about what type of character they wanted to create. If you need some help with ideas, use the internet to find appropriate images. You can also look through books, or talk about different types of characters to help get imaginations going. My youngest loves penguins so we looked up penguin images on the iPad to use as inspiration. But obviously it can be anything!
Cook the characters: once they’ve been made and decorated, get your characters in the oven, using the cooking instructions for whatever it is you made them out of. Setting a timer with a loud alarm always creates extra excitement too!
Plan the characters: Use the time they’re cooking to discuss the characters and give them character traits such as: name, age, personality traits, what they do and don’t like, any special powers they may have, where they live, who they live with. It’s best to write these down.
If you still have time, you can also do some story planning. Stories are best when they’ve been planned! Come up with any other characters in the story, the setting, and a problem.
Once the characters are baked and cooled, you have all of your story elements and inspiration ready to create a great story! Kids can even integrate the different characters they have made and write a fun story together! If they prefer, they can also just write a character description rather than a whole story!
For kids aged 5-8, remind them to use basic story structure when they’re writing their story - an introduction, a complication, and a resolution. For older kids (8-12) they should use a more detailed story structure. You may want to try this one:
There is a main character
They want something.
They face obstacles to get what they want. (Something or someone gets in the way)
In the end, they may or may not get what they want but they have learned a valuable lesson.
TOP TIP: Characters are a key story element and the more detail and depth we give them, the more exciting the story will be. It’s great to get kids into the habit of creating characters, and assigning them characteristics, early. Creating characters is also an amazing exercise in teaching empathy. We’ll be posting more about character - empathy activities in the future so keep an eye out!
We’d love to see your characters and stories so send them to info@storysquad.com.au or post them and tag @storysquad_au on instragram.
BAKABLE CLAY (AKA SALT DOUGH) RECIPE:
1 cup salt
2 cups flour
3/4 cup of water
2 Tbsp. vegetable oil
Food colouring (optional)
Water-based acrylic paints (optional)
In a large bowl, mix together the flour and salt. Add the oil, and then slowly add the water. Mix well until it forms a doughy consistency. Turn the dough onto the bench and knead with your hands until smooth and combined. If you want the dough colored, this is the time to add the food coloring!
Pre-heat the oven to 180C. Make your characters and then place them on a baking tray, lined with baking paper, in the oven. The amount of time needed to bake will depend on the size and thickness of the creations so you’ll have to keep checking the firmness but it should take 1-2 hours. Once done, let the characters cool, then paint with water-based acrylics!


